I am linking up with Doodle Bugs Teaching for Five for Friday. Thank you for hosting, Kacey!


First of all, here's an update to last weeks eyeball pompoms! My friend Holly straightened me out. She told me that I made Rhyming Dust Bunnies! Thank you, Holly! How precious is this book by Jan Thomas? How did I miss it?
I hadn't seen it, but it will be perfect for rhyming!

I finished my Living and Non-Living Prezi and Packet last week.
We had so much fun with this lesson. It's all together in this packet. Science often gets a back seat to everything else we have to teach. It seems like ELA and Math are the "subject bullies," and we have to squeeze in science and social studies when we get a chance. That's another reason I love my prezis.
This week, we watched a different video each day after snack time to reinforce living and nonliving things. We played a few of the games right before lunch. We completed our chart together during an interactive writing lesson.
Then, the children went to their seats and did their drawing/writing activity.
The children made their own charts as a center activity, because they knew what to do after we had made our chart together.
It was a really quick, easy, and fun way to get a science unit done!
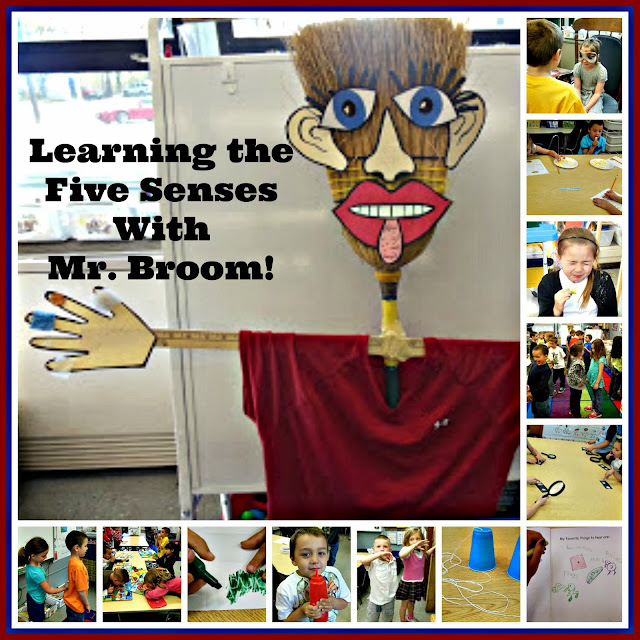
I also shared all of my Five Senses Activities this week in an earlier post if you'd like to see what I do to teach that unit!
This time of year, a big part of my writer's workshop (besides trying to form letters!) is learning what details are and how important it is to add details to illustrations and to writing as we get into that.
I love teaching the children about details. First, I explain that a detail gives us information and tells us more about something. We use this Prezi (below) to see examples of details. We made the first anchor chart which shows different types of details that can be added to illustrations to add information. The second anchor chart is from Cheryl Barrios. It helps the children think of ideas to add to pictures when they think of the five senses. We discuss the anchor charts and notice all the details with our eagle eyes.
Then, I talk about how Mo Willems uses so many different expressions, movement marks, and different size text in his books. I show some of the examples on the Prezi (because we are going to read this book later! )
We use the videos on the Prezi later to see more examples of details. Rocking Dan, Teaching Man has the best songs for description and details! The kids LOVE the songs- and are able to talk about the describing words he uses in them! Perfect!
The last song, The Elephant Song, is great for mixed up details. The kids always love this song, too. It's silly. They are able to see that details must be correct to be helpful!
(Every time we watch The Elephant Song, I start by saying, "I wonder if he will still be mixed up this time?" And the kids always think that maybe this time he will get the descriptions right. They are forever the optimists! And he NEVER gets it right...)
This is part of my Primary Writing Prezi. I love having all of my technology right there together. It's a great time saver- instead of trying to find and bring up links and videos randomly.
After we talk about details, I read my favorite book, Joone, by Emily Kate Moon. The kids LOVE this book- and it's such a great way to show real, live details in a book! It's great for small moments, for teaching about being yourself, SO many things. It's just the best mentor text ever. It's my favorite.
I tell the children that I am going to read one page, and each time they hear a detail about Joone, they need to put up one finger.
On ONE page- they can hear 5 details. This goes perfectly with my lesson, because we always say 5 is our magic number, because it's the number of colors we use in our pictures and the number of details we add! We decided on that number together because most of us are five.
Luckily, Joone is five, too!
I made this ugly really simple little anchor chart to complete for our lesson. Let's pretend I made it look like this to make you feel so much better about your drawings! Let's pretend. ANYWAY- it worked! We talked about how plain the picture was- and how it didn't really give us much information. What could we add that would help fix that? DETAILS!
Before the lesson, I wrote down each of my students and a detail I wanted them to add. (For example, Tommy- make it an apple tree; Lily- make one of the people sad; Logan- Give the house a chimney. Is there a fire in the fireplace? How can we tell?) This saved a lot of time-because I had two markers, and just called one student right up after another to add their detail- and a letter to label their detail if they could.
After we finished, we compared the pictures and noticed that we had SO much more information.
(One detail was for Gabby to give a flower to the sad person to cheer him up. I love how that part turned out. That sad face just is so expressive!)
I also made a quick, simple, kindergarten-like paper for the children to add their own 5 details to, for my quick assessment.
If you would like a copy (bless your heart!) you can just click the picture!
They did a GREAT job with it. For the assessment, they had to color a star each time they added a detail to be sure to have at least five.
She labeled the dirt with a "DT" and I love how some dirt is flying out the back! My kids also LOVE those motion lines so we know that truck is going fast.
He wanted to be sure his house had LOTS of windows. Done!
I loved this lesson because I felt like I was teaching with my friends when I used Emily's Joone and listened to Dan's songs. It makes me so happy when I use ideas or activities from friends- very talented, amazing friends!
Well, Paula isn't actually a real friend of mine, but I do totally understand her love of butter.
All you need is heavy cream, a baby food jar, and a little salt! We spread our butter on crackers, so you need those, too. I made butter four times, once with each of my groups, filling the baby food jar half full each time and used only one 8 oz container of heavy cream.
I made a Making Butter Book to read to the class before we made our butter. If you would like a copy, just click on the picture below. It's simple- but it explained what I wanted them to know.
I also made this Making Butter booklet for each of my students to make and take home, so they could have the "recipe" too. Just copy the pages one side to two sides, fold in half, and ta da! Then, I had the children glue on the pictures that matched the directions. I found the great butter making pictures at chicaandjo.com.

We talked a lot about holding onto that jar with two hands as we shook it, because it was made of glass. They did great with it.
Shape Town is up and running in our classroom! It's a magic way for the students to learn their shapes. Really. They don't know the names of the shapes one day, and then as they search for and bring in different shaped treasure to add to Shape Town, the shapes actually mean something to them so they remember the names. We also talk about each different shape and its attributes as we add the item to the town. As you can see, it isn't fancy. It's in a big, plastic container. It works really well because it's clear, keeps everything contained together, and is just the right size.
If you would like a copy of my Shape Town picture and the parent note that I sent home, just click the picture below. I printed my Shape Town picture on card stock.
Look at this new book! It's Friendshape by Amy Krouse Rosenthal and Tom Lichtenheld! I love all of their books and know I need the book if it's by them. They have such a clever and creative way of writing. This book was at our Book Fair, and is now on my book shelf! The kids loved it, and it was a perfect fit for our introduction to Shape Town.
Here is the precious ending... So sweet!
I made a couple writing prompts to go with this sweet new book! If you would like them, just click on the picture below.
I added these to my Author Study Packet for Amy Krouse Rosenthal, as well. If you already have it, you can download the packet again so these are included! Now there are 25 prompts for 18 of her books in the packet.
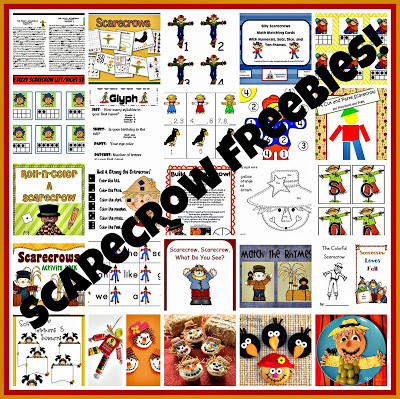
I also posted LOTS of Pumpkin Freebies and Scarecrow Freebies from TPT this week. Just click on the picture below if you want to check those out. There are so many clever activities out there.
Thank you so much for stopping by!


I LOVE your shape town idea. I think I may just do that with my 4 year old son. He is learning shapes right now in school and would LOVE to make a "shape town". That book Friendshapes is adorable. Might have to add that one to my amazon cart... Happy Friday!
ReplyDeleteJoya :)
You guys are staying busy! I love the activity where you added the details.
ReplyDeleteOh my word! You've got a ton of activities planned for your kiddos. Way to go! They look like fun. I want to make butter!
ReplyDeleteMarion
Oh gosh!! It's a good thing it is The Canadian Thanksgiving weekend so I'll have more time to pour over your fabulous work!! I am thankful for Carolyn!!!!!
ReplyDelete