I am linking up with
Doodlebugs Teaching for another fun Five for Friday!
This week was full of end of the year assessments and checking. We still have
four weeks of school left. The children wrote their end of the year writing samples, read sight words, and I finished up some Benchmarks. I always love to show the children their September writing sample and compare it to May. I copy both and send them home for parents to see, too as a HUGE celebration. We can't ever forget to celebrate those things. Sometimes I get so worried about everyone passing a D level, that I forget that some came in thinking letters were numbers and shapes were holes...
We had fun with details. I love to use
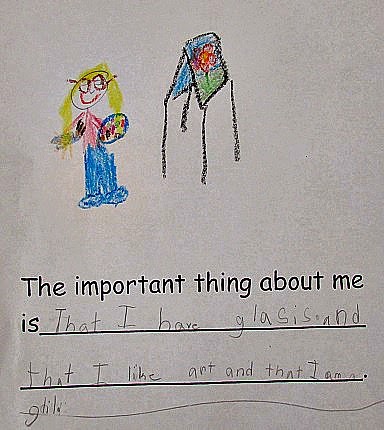
The Important Book for a detail lesson.
Here is a quick little writing activity that I always love to do with this story.
that I have glasses and I like art and that I am a girl.
I am a boy and I am a scientist.
After we read the story, we revisited our Detail Anchor Chart and reviewed what we know.
We turned and talked with a friend, reminding each other that a detail gives more information about something. Information is what we know. Good writers use lots of details to give their readers as much information as they can so the readers can better picture what the writer is saying. We played a few games to help remember this lesson.
I told the children that I was thinking of a number. Everyone guessed- it could be anywhere from 1 to a million! Then, I added some details- "I am thinking of a number that you write with a one and a zero that rhymes with men." Ta da!
We played the game a few times with numbers and letters. Then, we talked about how some books that we read as we get into more difficult books won't have so many pictures. We will need to use details to make pictures in our heads. I had the children close their eyes as I read a few sentences.
I see a tree.
I see a Christmas tree decorated with all different colored lights, lots of candy canes, and a bright, gold star on top.
I see a tall tree with red and yellow leaves, blowing in the fall wind on a sunny day.
I see a small, lonely tree on a snowy hill with bare branches, except for one red cardinal sitting on one branch, trying to stay warm.
We talked about which sentences were easiest to make pictures with in the children's heads- and how we didn't even need an illustration because we made our own picture using details.
Next, I brought up three girls. I had one other student describe one of the girls with lots of details (and not her name!) "She has brown hair in a braid. She has blue pants and pink sneakers that light up. She has stars and polka dots on her shirt."
The kids could play this next little game all day. I had everyone stand up. Then they had to sit if the detail did NOT describe them. For example: First- It is a person. Then- This person is a boy. Next- This boy has a striped shirt. etc. etc. until there is only one student standing.
Here are a few papers that I use for my detail lessons if you want them for ideas. We read the sentence, "I see a dog." Then, the children illustrated their papers. Next, we read the more detailed sentence. They illustrated that one. After that, we shared the pictures to see how different each person pictured a dog, but then how much more alike the illustrations were with more details to describe the setting.
(I loved this dog. I would name him Pepper because he looks like one!)
We took another trip outside for some science fun- followed by some writing fun. First, we read
In the Tall, Tall Grass, and we talked about different bugs and critters that we see in the grass.
Then, I paired up the children and we went outside to see what we could actually see in the grass with magnifying glasses. I only had ten magnifying glasses- so that was one reason for the partners- plus it makes it sound like I planned a great activity for the children to discuss and share what they found. Yeah- that was it!
I love how she KNOWS there are better bugs over there!
TINY ANT HILL!
After collecting our data, we came inside to share. Some years, I have had everyone take out a clipboard and pencil with the magnifying glass and sketch and write what they found outside. It's fun to read this story outside to the children, too. This year, we came inside for our activity. I sort of liked just doing the searching outside and not the writing. Plus- it wasn't the gorgeous, sunny day I was promised by the weatherman, so- we made the best of it.
I printed out lots of sheets of bug pictures, handed out scissors, glue, crayons, some green construction paper, and pencils and let the children write about and create what they saw in the tall, tall grass (which was really short, short grass that had just been mowed).
These next three sweeties are the reason why "saw" will be one of the sight words I teach next year week... because in three pictures I have, "sall, sar, and saol." "Saw" isn't one of our words now. Here is the data that says it should be...
I loved how his ant was just hiding there in the grass.
After I had printed out my bug pictures, I found this fabulous freebie (3 pages of pictures!) from
Simply Speech that she shared to go with this book. I love it because it has the labels with the pictures. Next year! You could also use bug stickers. I thought I had some, but apparently bug stickers go fast in my world...
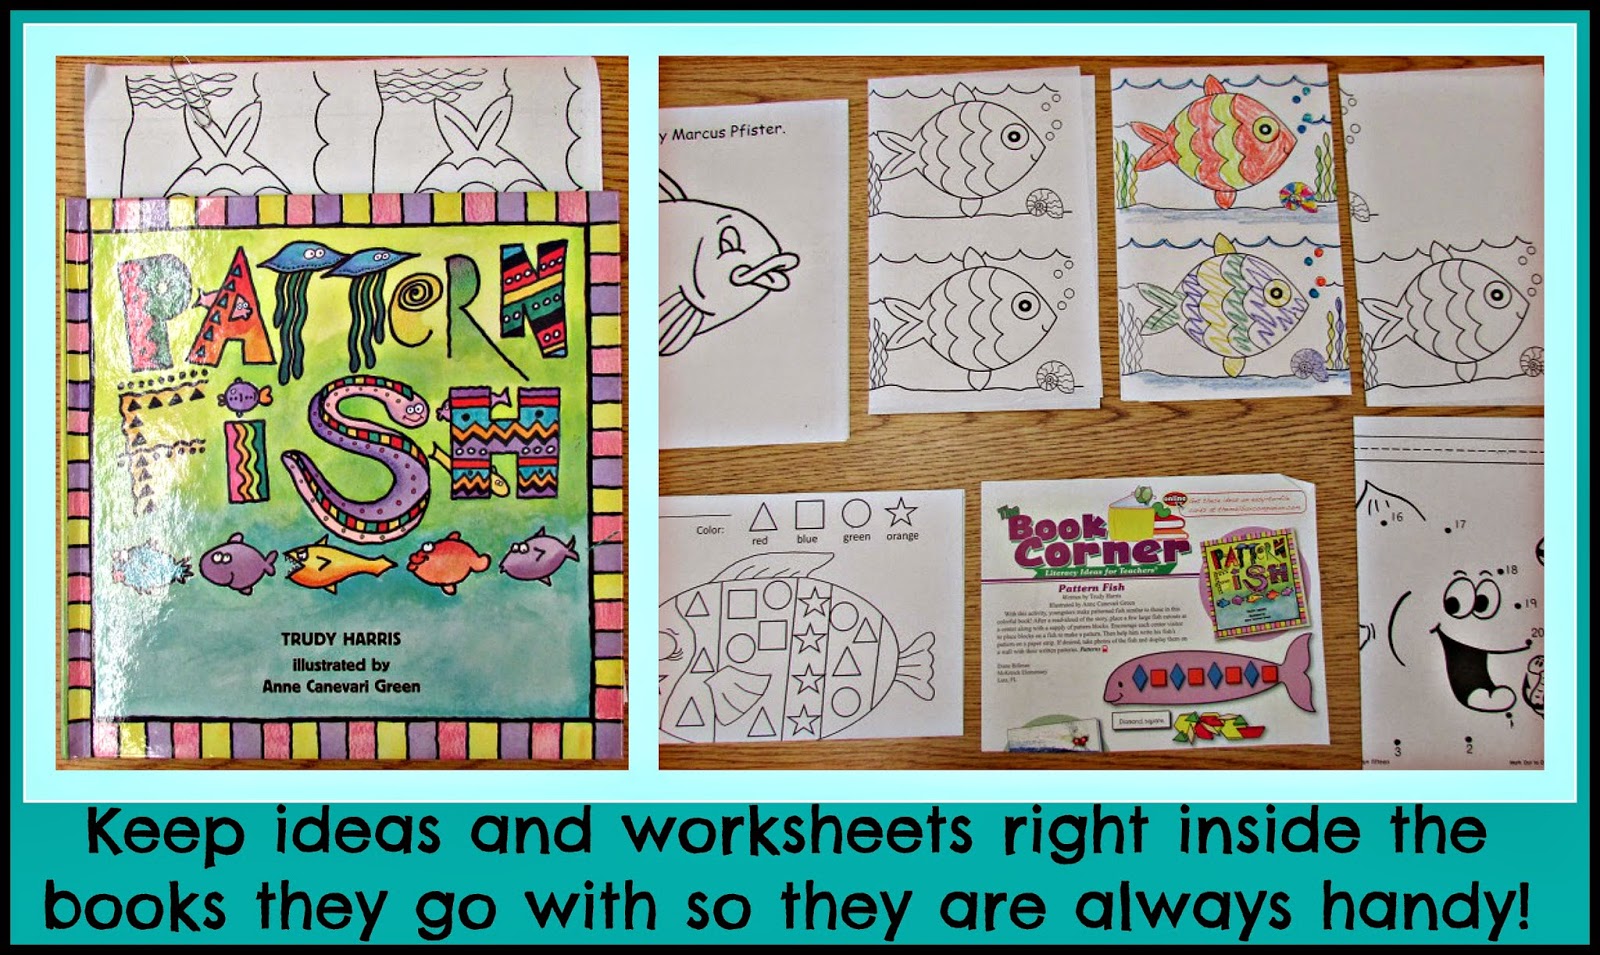
Denise Fleming has a wonderful worksheet to go with this book. I use this one a lot, too.
Another year I am also going to make these precious hats that I found from
Creative Connections for Kids . Aren't they the best?
I found this and just had to share- because I never knew. NEVER KNEW. Did you?
Glad Wrap and Reynolds Wrap both have little indents at the ends of the cardboard box that you push in to hold the roll in place. I just felt the need to tell everyone.

Here's one more little tip that I was just sharing with a friend who was getting new bedroom furniture, and I thought I would pass it on because it was one of the best things we did when we first moved into our house. We bought some new furniture a few years ago, including bedroom sets. Right away, I measured the tops of our new dressers, desks, nightstands that we bought and ordered glass to go on top of them. We have a wonderful glass place in our town, and she cut the pieces for me right away. So we have a piece of glass on top of every dresser, night stand, and computer desk. It wasn't very expensive to do- and it just saves the furniture so much. I never have to worry if I put a water glass or coffee cup on the dresser or nightstand. NOTHING happens to the glass- I just wipe it off. I originally did it because I wanted to protect the kids' furniture, because sometimes a wet bathing suit or towel accidentally ended up on a wooden dresser, and that was sad. For everyone. Saddest for me, actually- they didn't really get it at the time- but, you know how it is when you see that wet spot on the wood... Here is a quick little visual:
Watermarks on wood...
Glass over wood...
My number five seems silly and simple- and I will admit it. But here is my little story behind it. For YEARS I have tried to grow Lily-of-the-Valley. YEARS. My sister and my aunt always have the most gorgeous clumps of them. They make thick borders and smell so beautiful. I have tried to take some of their plants and replant them. Nothing. I have tried my own little plants- nothing. Finally, this year- I have ONE. Not one clump. Just one. And it smells heavenly. And it got its very own spot on my favorite five of the week, because it hung in there with me and showed up this year.It's the only one- and believe me, I didn't plant just one. The picture isn't even good, but honestly, it's there.
Happy, Happy Weekend!


.png)


.png)