I am linking up with
4th Grade Frolics for Monday Made It. Thank you for hosting this, Tara
My sweet friend Susanna mentioned my Prezis in her post yesterday over at her WONDERFUL blog
Whimsy Workshop, and that just thrilled me! :) Thank you, Susanna ((hug, hug, hug)). So today, I thought I would share a little about how I started making them.
Since I enjoy making and using Prezis in my classroom so much, I want you to see how much fun they are to make. I just found Prezis when I took a Technology Class at my school for Professional Development- and sort of fell in love with them. Prezi has no idea who I am or that I use them, and I am not associated with them in any way, except that I think the are an awesome tool to use! :)
I started writing a tutorial post- and then realized that Prezi does a great job - much better than I was going to do- so I am adding the link for their
Prezi Tutorial.
Prezi breaks down everything with their
Getting Started with Prezi page.
It is so easy- even I can do it. Literally- there should be a commercial with just me on it- and people who know my technological giftedness (she said sarcastically) would immediately feel so much better about themselves and their abilities to make a Prezi! :) Now, I have been making them for about 2 years- so I am better than when I started, but I will never forget that first time I saw their little slogan that said, "Go ahead. Make a Prezi!" So- I thought, "OK!"
You need to sign up for a free account. It is fun to just explore what Prezis are available out there.
Here are some tutorials that are helpful. Start with a basic one and see how fun it is. :) Remember it can be simple, simple, simple and so useful!
Do It Yourself Prezi Tutorial by Tai Tran
Youtube Prezi Tutorials for EVERYTHING!
Eva Steele-Saccio also wrote a great tutorial on Educade.
In the two years I have been using Prezis, they have added many more options to their offerings- font colors, fonts, music, backgrounds...
When I started, there were only blank backgrounds. Actually, this is what I prefer for mine. I mainly use Prezis as "zooming posters." I organize my favorite links and put them together by theme so they are ready for me to use very easily. I don't use background music because I include lots of Youtube videos as links and want it quiet in the background, but I am going to put music in my Open House picture Prezi this year, though! That will be fun.
Sometimes when presentations are presented as slideshows on Prezis (Monday Tongue Twister- not really- that was really easy to say- Hmm- alliteration I guess?! I got sidetracked- sorry!) and the slides zoom in and out fast, people get dizzy and don't like it. :) I have seen some like this and they are distracting sometimes. The zooming feature is fun to play with.
Ned Potter made a Prezi about making a great prezi.
It shows the zooming feature well. When you get to this link, just click though the arrows on the bottom of the prezi to see it. (This kind is the slide show presentation kind when you use the arrows at the bottom, not the zooming poster kind.)
Zooming Poster Prezi
Most of my Prezis are not slide shows. I go to the top where it says, "Frames and Arrows" and choose "Draw Invisible Frame." I frame the section that I want to be able to zoom in on, if that area is selected (touched on the smartboard or clicked with a mouse). Then, when the Prezi is up as a poster and I touch an area, that part will zoom forward. Here is a sample of the invisible frame/zoom Prezi:
If you click on an area, it will zoom forward. Just scroll the mouse to back out.
Here is what this Prezi looks like in "edit" mode when I added the "invisible frames" just so you can see-
Slide Show Prezi
The slide show option is very simple. If you want it to play like a slide show, you just click the pencil to the left side of the Prezi when you are creating the Prezi, then click on any slide or area you want to select as your first slide, then continue- click the pencil, then the slide... You can edit it easily and take off slides, too.
My
'My Favorite Things" Prezi is slide show. To make it full screen, just click the box in the lower right corner (red arrow), then you can click through with the arrows. (Just hit escape to get out of full screen.) I like this to be slide show because when we sing the song, I can click through at our own pace. You can also just "play" a slide show and select the time you want between slides.
I love making a
Sight Word Prezi to use with my class all year. It is great for those extra moments you have during the day- and extra fun because the children love to see themselves on that big screen.
This is a slide show Prezi. This would be a fun one for you to try because it is SO EASY.
I take the children's pictures, each holding a different sight word and download them onto my computer. Next, I just choose each individual image and insert each image. Once they are inserted, you can make them larger or smaller by clicking the image and using the arrows to enlarge or decrease the size. Then I arranged them ( just for fun) any way I want and used the pencil to the side to create a slide show. Click the pencil, then the picture, pencil, then picture... (red arrow). You can edit the Prezi anytime you want, very easily by hitting "edit." (duh. haha)
Here is how the page you are working on will look after you have made the path for all of the slides:
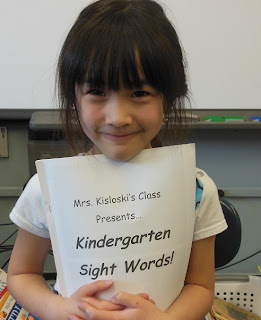
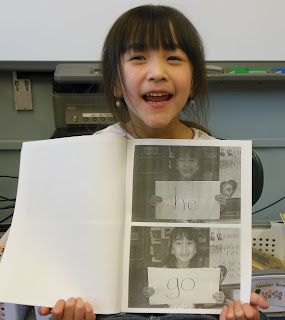
I also use these sight word pictures to make books for each child to take home. They love to share pictures of friends with mom and dad- and hopefully practice reading these sight words! I keep one in our room for a classroom book, too. I print them in black and white to save ink. :)
I hope this post makes sense and is helpful to you! A fun thing to try when you first play around with Prezis , is to make one about YOU! Go to google images and download a bunch of things you love- favorite clothes, favorite sayings, favorite flower, favorite place, favorite coffee, favorite perfume, favorite animal. Then, title your Prezi your name. Practice inserting the pictures you downloaded and arrange them, resize them, twist and tilt them- add some text- just have fun! You could even do this as an introduction of yourself for your class.
I just wanted to share my love of Prezis with you. Hope you made a new friend with them, too!
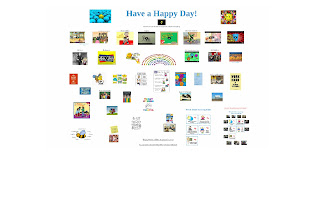
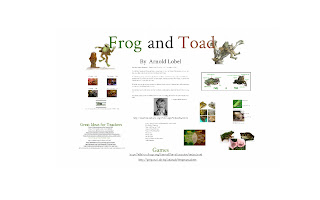
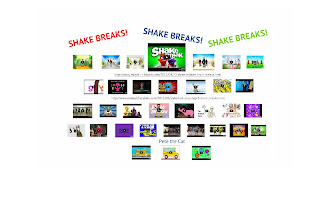
You can see all of my Prezis at my
Teachers Pay Teachers Store. Here are some I have made that I use all the time in my classroom!
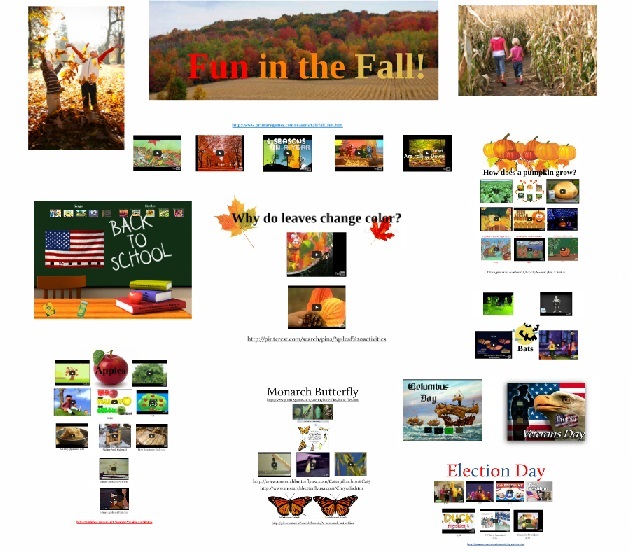
I JUST finished my new
Fun in Fall Prezi .
Here is the description of the Prezi and what it includes:
This Prezi is a zooming poster FULL of information, videos, songs, stories, activities, and links to everything FALL for a primary classroom. It is a great way to incorporate Science and Social Studies into your classroom, as well as generating ideas for Writer's Workshop. Just click on a topic and have all those resources at your fingertips! Underneath the title are songs about fall. In the Prezi, I have included the following sections: 1.Back to School- which includes songs, online stories, the Pledge of Allegiance (saying, singing, and signing-regular and slow motion) The Star Spangled Banner, Grand Old Flag, a crayon box with videos of how crayons are made, a pencil box with videos of how pencils are made, Pinterest links, and activities/links for The Kissing Hand; 2. Why Leaves Change Color ; 3. How Does a Pumpkin Grow? -includes videos, a lifecycle chart, songs, stories- and some bonus bat and skeleton songs/stories for Halloween; 4. Apples- which includes videos of the lifecycle of apples/apple trees, songs, making applesauce, cider, and donuts, and Johnny Appleseed videos; 5. Monarch Butterflies-which includes activities, lifecycles, videos, a male/female chart, and links to great sites about monarchs; 6. Columbus Day; 7. Election Day- which includes 4 videos and 3 online stories about elections( Duck for President, If I Were President, Grace for President); 8. Veteran's Day- with videos explaining Veteran's Day to children.
Each sections also includes a link to Pinterest boards/pins for that subject for easy teacher access to more activities and ideas.
I had so much fun watching all the videos and picking the best ones. (There are some CRAZY ones out there... I think I've seen them all!)
My
Back to School section of this Prezi is my free sample. I'd love you to try it!
I thought this could be useful for everyone (in the US- unless you just want to learn about the US...), even if you don't have seasons like I do here! I hope you enjoy this and find it useful. It just has some fun songs/stories/ activities for those first days when the kids are tired and may need a few minutes to rest and learn at the same time! If you click on the crayon box and the pencil box, I put on some videos about how crayons and pencils are made. Pinterest links are on the spines of the books- as well as several Kissing Hand videos.
This year, I want to teach my class to sign the Pledge of Allegiance. I found great videos for this! One is regular speed- but the second is slow motion which will be so helpful for
me the children. I think this will be so much fun! I have more Patriotic Songs- and versions of The Star Spangled Banner on my
Learning is Fun Prezi if your class becomes
obsessed interested in seeing other people sing it. We have a BALL with that.
I am going to leave you with another way to use a Prezi- maybe the sweetest way I have ever seen. For my daughter's birthday, her sweet, new husband made her a Prezi to present her gift... a man after my own heart! No wonder I always knew he was perfect for her! :) This one is a great way to show the zooming that's available- and music in the background (which is a song by the performer they are going to see). Also- Peanut is our cat who is missing Ellie like nobody's business- and she wants a Westie like crazy... :) Just click through the arrows at the bottom. (PS- I did get permission to share this! ;)
Have fun and let me know if you make some of your own- or if you have any questions that I can try to answer.